TTL Setup: Pro-Ject Debut Carbon EVO / Audioengine Speakers

Congratulations on your new TTL Setup! Here are detailed instructions on how to completely set up your Pro-Ject Debut Carbon EVO turntable and Audioengine speakers, plus some tweaks for optimizing the setup.
1.0 SET UP YOUR AUDIOENGINE SPEAKERS
1.1
Unpack your Audioengine speakers and locate the accessories + cables as shown. Locate the speaker wire which will be used to connect the (2) speakers together. For the A2s the speaker wire is clear, for the A5s the speaker wire is black with gold banana plugs.

1.2
Position your speakers. NOTE: Position the powered unit on the left.

1.3
Plug in your speakers and connect them together using the speaker wire.

2.0 SET UP YOUR DEBUT CARBON EVO TURNTABLE
2.1
Unpack the dustcover, turntable body, and platter. Locate the power supply which is packed in a small white box and the counterweight which is embedded in the styrofoam. You can leave the dustcover wrapped up for now.
Now locate the instruction manual bag. We recommend following Pro-Ject's visual guide for setting up your turntable. Please note the bag also includes the Turntable Belt and RCA cable.
⬇️ you can download a PDF of the Pro-Ject Setup Guide here.

3.0 CONNECT YOUR PREAMP
3.1
Connect your turntable to the Preamp as shown below. Using the RCA cables we provided, plug the output to your speaker. A couple things here to watch for: 1) make sure the Preamp is plugged into an outlet, 2) connect the Ground Wire (the small U-Shaped connection) securely to the Preamp.

3.2
Plug in the RCA cable from the Preamp to the inputs circled below.

4.0 PLAY A RECORD!
4.1
Place a record on the turntable, hit the power switch on the bottom-left side of the turntable (the platter should start to spin), then place the needle on the record (if you’re new to vinyl, you may want to use your turntable’s lift lever to gently lower the needle onto the record).

4.2
Power on your speakers!
If you have A5s and you don't hear anything, press the front-panel volume knob to cycle through inputs until you hear something (the A2 plays all inputs simultaneously).

5.0 UPGRADES (SOLD SEPARATELY)
5.1
When it's time to switch styluses (we recommend once a year if you're a daily user), the Sumiko Oyster Series features an Interchangeable Stylus System. This means you can use any of the styluses in the Oyster Series, instead of buying a whole new cartridge. In addition to saving money, the styluses slide on and off for easy, no-tool installation. The Olympia Stylus ($119) is one level up from the stock Rainer, while the Moonstone Stylus ($229) represents the top of the line.
5.2
The Debut Alu Sub-Platter Upgrade ($159) replaces the lightweight plastic sub-platter that's underneath the EVO's platter. This heavier, machined part (weighs 1.5 lbs) will dampen unwanted noise and resonance, increase overall speed accuracy and improve wow & flutter.
5.3
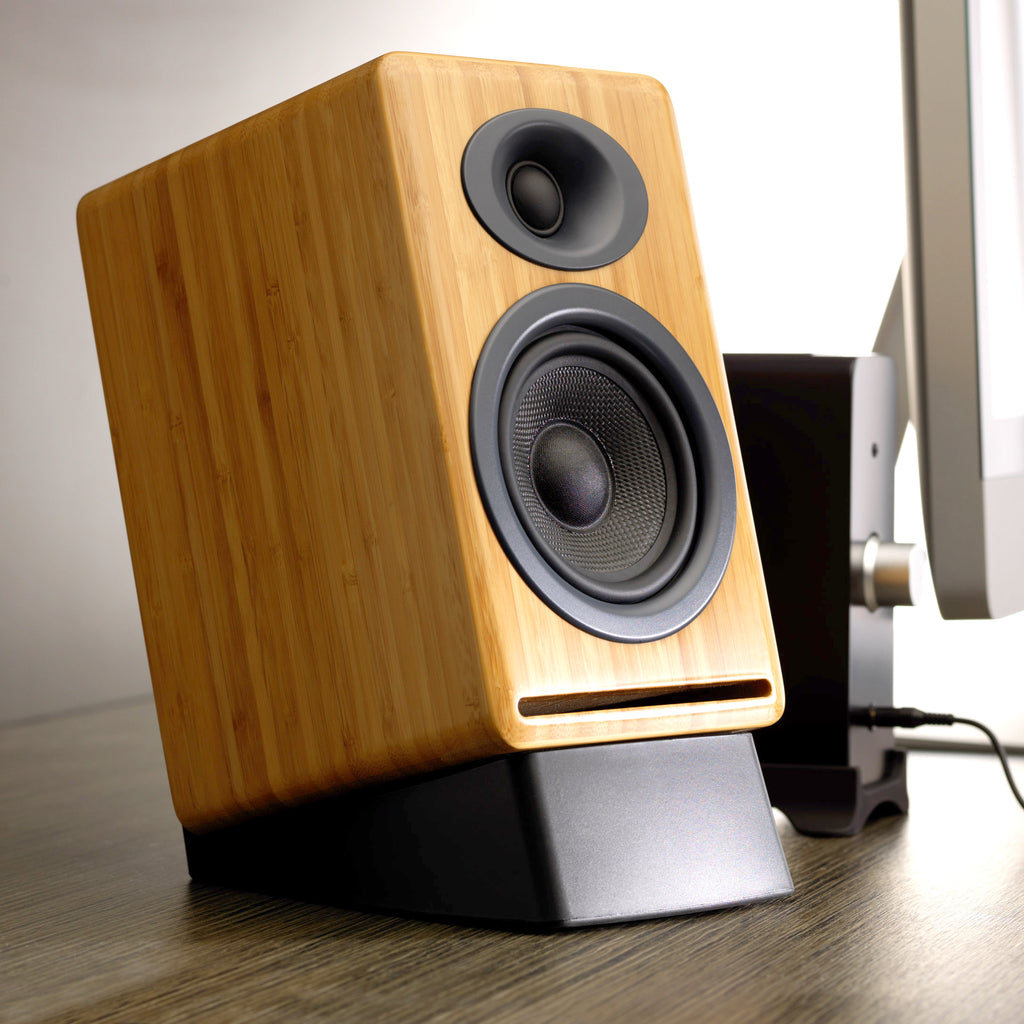
Audioengine offers affordable, silicone desktop stands for both the A2+ and A5+
- DS1 Speaker Stands for A2+ ($29)
- DS2 Speaker Stands for A5+ ($34)

5.4
Turntable Lab: Triple Operation Brush ($25) - The Carbon Fiber brush that came included with your setup is great for everyday usage (we use one in our office). However, our new Triple Operation brush is on another level in terms of effectiveness with dual cleaning pads plus an integrated carbon fiber brush.


